Physical Structure is a pillar of structured classrooms- and I am always shocked at how many people get their structured classroom layout all wrong!
If you’re gearing up to transform your classroom empty classroom into a dynamic space for students with special needs, there’s one thing you absolutely need for sure: To nail that physical structure! Your structured classroom layout is the secret weapon to make your year a success… and trust me, it’s easier than you think to do!
Why Do You Need a Structured Classroom Layout?
Picture this: a classroom that is not just a room, but a thriving learning environment where organization meets purpose. Sounds like a dream, right?
A structured classroom layout is the foundation for effective teaching and engaged learning. It tailors the space for diverse needs, offering clear zones for activities and fostering predictability through visual cues.
This setup supports safety, accessibility, and fluid movement. And all of this enables teachers and students to navigate seamlessly. With a thoughtfully structured layout, the stage is set for dynamic teaching, collaborative learning, and the holistic success of each student.
Structured Classroom Layout for Instructional Time
Before you can even start to set up your structured classroom layout, you have to think about the needs of your students. You’ll also want to think about what teaching style you plan on using most often.
For lots of elementary classrooms, that’s group time is on the mat or in an area of the room that does not need seats for everyone. When you get to middle and high school, you better believe all the students are not going to rush to a mat. There you’ll need seats if you plan on large group or whole group activities.
BUT, I would not recommend this large group format.
Most students in Autism units and LIFE Skills classrooms do not work well in large groups. It’s common for our students to have poor auditory processing, attention, and comprehension skills. We have to do things differently.
How to Set Up a Structured Classroom
As you start the process of laying out your classroom for academics, consider these things:
- Clear Zones and Purposeful Areas: Design your classroom with distinct zones for various activities like small group instruction, independent work, sensory breaks, and quiet reflection. Each zone should have a specific purpose, making it easier for students to understand and engage in different tasks.
- Visual Supports: Utilize visual aids like schedules, labels, and cues to help students navigate the classroom. Visual supports provide predictability, reduce anxiety, and enhance communication for students with special needs.
- Minimize Distractions: Consider sensory sensitivities and attention challenges. Keep the classroom organized and minimize visual and auditory distractions that could overwhelm or distract students.
- Flexible Seating: While having designated seats for students might be necessary at times, also provide options for flexible seating. Some students may benefit from alternative seating arrangements that cater to their comfort and sensory needs.
This is a great starting point for physically setting up your structured classroom layout.
How to Define the Space
In the busy world of special education, the physical layout of a classroom isn’t just about walls and furniture. It’s about crafting an environment that supports learning, is inclusive, and helps you with your classroom management. So, without having to go to bankruptcy court after overspending at the Dollar Spot, how can you define your classroom space on the cheap?
- Furniture: Arrange desks, tables, and seating clusters to delineate different zones. For example, group desks together for collaborative work or create individual workstations for focused tasks.
- Rugs or Mats: Place rugs or mats to designate specific areas, such as a reading corner, sensory space, or group discussion spot.
- Bookcases and Shelving: Use bookcases or shelving units strategically to create partitions or boundaries between different sections of the classroom.
- Visual Displays: Hang curtains, fabric panels, or visual displays to create separation while adding an element of decoration.
- Floor Markings: Utilize floor tape, decals, or carpets with different patterns to visually mark off distinct areas.
- Bulletin Boards: Position bulletin boards to partition spaces and showcase work, creating a dual function of division and display.
- Mobile Dividers: Incorporate mobile dividers, like folding screens or whiteboards on wheels, to flexibly alter the classroom layout as needed.
- Storage Units: Use storage units, like bins or cubbies, to define areas and keep materials organized.
- Anchor Points: Position larger furniture pieces like teacher’s desk, reading nooks, or learning centers to serve as anchor points that naturally divide space.
- Alternative Seating: Integrate alternative seating options like bean bags, cushions, or floor seats, which inherently create separate seating zones.
- Color Coding: Implement color-coded elements on walls, floors, or furniture to differentiate areas by purpose.
When all is said and done, the physical division of space should align with the functional needs of the classroom and the learning activities taking place. It’s important to strike a balance between division and an open learning space that promotes interactions.
Structured Classroom Layout for Behavior Concerns
Back in the day, we referred to students who eloped as ‘runners.’ I vividly recall encountering a few of these eager adventurers during my time. But here’s the clincher: the last thing you want is to offer them a clear path to the exit door.
Crafting a classroom with strategic barriers and gentle obstacles, carefully avoiding any sense of entrapment, can grant us seasoned educators those crucial three to five extra seconds to spring into action. If you’re dealing with students inclined toward elopement, it’s essential to scrutinize the accessibility from instructional spaces to the door.
Essential Elements for Behavior Success
Enter Behavior Intervention Plans (BIPs) – a cornerstone in addressing behavior concerns. These blueprints often feature elements like calm down corners, sensory sanctuaries, or isolation stations.
You’ll want to organize your classroom’s layout with some key elements to support student. Visual cues, timers, access to calming sensory tools, and even the comforting embrace of journals and music can foster an environment primed for positive behavior outcomes.
Consider having these things in the environment:
Strategizing Entry and Exit Dynamics
Ah, the ins and outs – the literal ones. Mapping out how a student enters (by choice, guidance, or reward-based) and exits (time-based, task-oriented, or through quiet compliance) holds the key. Unveiling this choreography enables the creation of tailor-made visuals, serving as steadfast guides for students navigating the ebb and flow of behavioral expectations.
Visualizing Behavior-Focused Spaces
To bring these ideas to life, here’s a snapshot of what behavior-focused spaces could look like:
- Calming Corners: An oasis adorned with soothing visuals, sensory tools, and comforting materials.
- Isolation Stations: A serene spot where solitude can reset emotions and thoughts.
- Visual Timers: Aiding in understanding time constraints and transitions.
- Calm Down Jars: Mesmerizing sensory jars for self-regulation journeys.
- Behavior Choice Boards: Empowering students with options for their entry and exit pathways.
As educators, we wield the art of intentionality, molding our classroom’s physicality to shape behavior. By carefully orchestrating space, we become conductors of an environment where positive conduct takes center stage.
Structured Classroom Layout for Classroom Management
In our whirlwind of classroom activity, it’s easy to skim over the hidden gems in our structured classroom layout. Now, imagine a classroom meticulously designed not only for learning but also for orchestrating smooth transitions and seamless management. The secret? Delving into those often-forgotten aspects.
Here’s a quick checklist of what to consider:
- Line of Sight: Arrange furniture and elements to ensure clear visibility, fostering supervision and engagement.
- Transitional Zones: Designate specific areas for transitions like lining up, fire drills, and dismissals, optimizing the flow.
- Visual Labels: Craft clear, visual labels for different areas to guide students and enhance comprehension.
- Unified Visual Schedules: Seamlessly integrate these visual cues into schedules for uniformity and student ease.
Now we have used our structured classroom layout to manage the students in a way that is clear and also easier! That, my friend, is a true teacher win!!
Classroom Layout Questions
As you are getting ready to rearrange your classroom, there are three important questions to ask yourself as you’re setting things up:
- How Can I Cater to Individual Student Needs?
- Consider the diverse learning styles, abilities, and preferences of your students.
- Ask yourself how you can create an inclusive environment that accommodates various needs, whether they’re sensory, physical, or cognitive.
- Is the Layout Conducive to Learning and Engagement?
- Evaluate if the classroom design supports a positive learning experience.
- Reflect on whether the layout encourages student engagement, collaboration, and active participation in lessons and activities.
- Does the Layout Promote Safety and Accessibility?
- Ensure that the structured classroom layout prioritizes safety and accessibility for all students.
- Ask yourself if the arrangement minimizes hazards, provides clear lines of sight, and allows easy movement for everyone, including those with mobility challenges.
When you start with the needs of students and then worry about being Pinterest Perfect, then you’ll be ahead of the game, guaranteed!
Physical Structure- Get This FREEBIE!
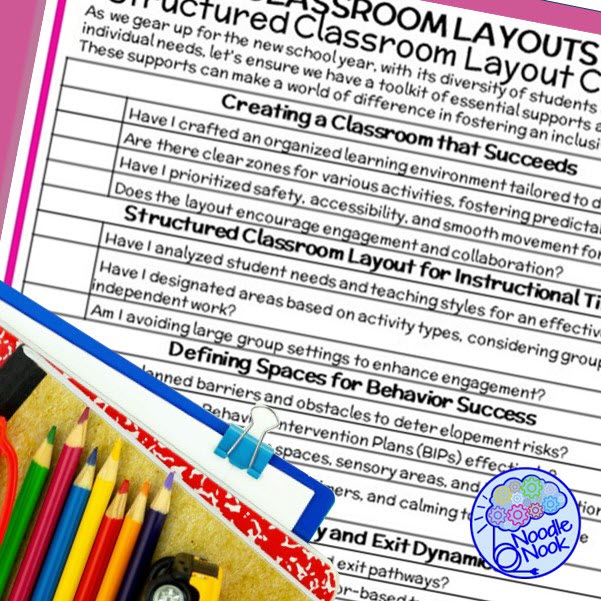
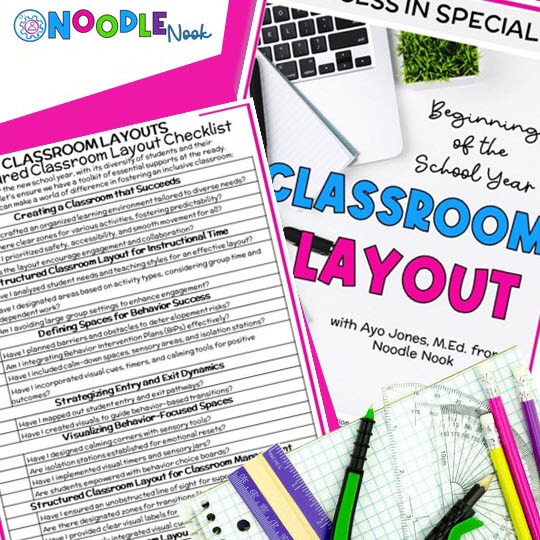
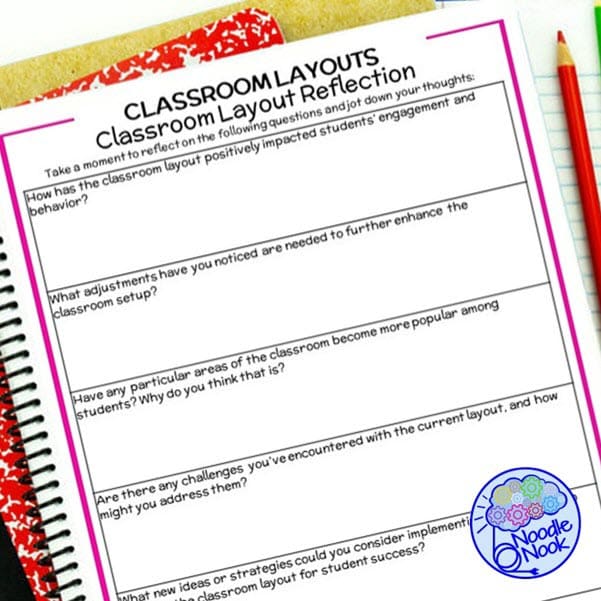
All this is great… but are you a checklist kind of person? Then you need to download this printable to help you work through designing clear physical and visual boundaries for your work and behavior areas, FREE! Did I mention it totally FREE? Yup. YAY!
Physical Structure, Check. What’s Next?
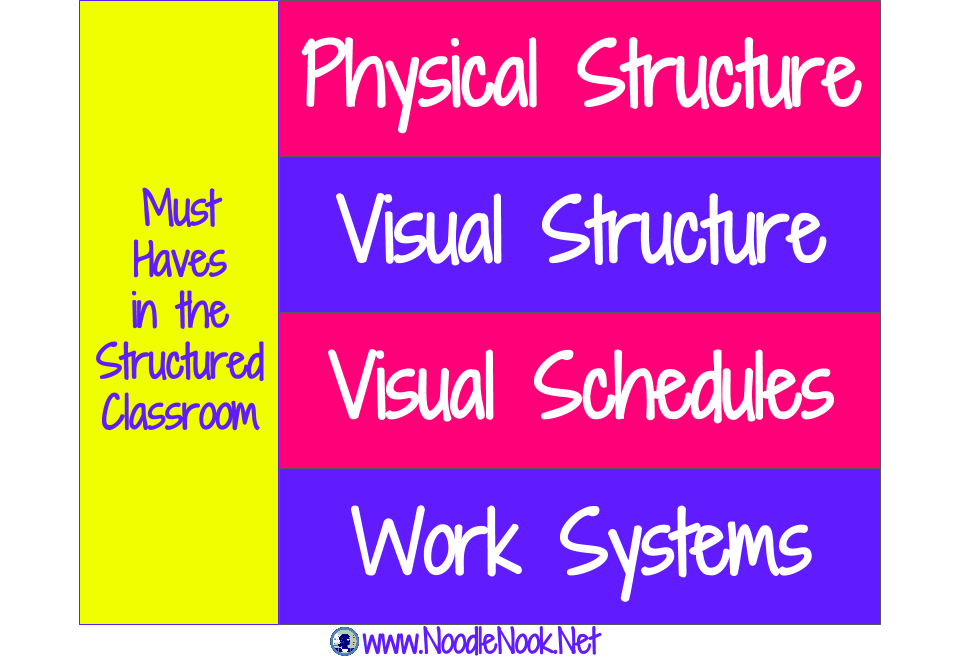
Remember, there are 4 pillars to the structured classroom. The physical structure is one part. Reread the section introducing the 4 pillars, here. Next up is Visual Structure followed by Visual Schedules and Work Systems.
Already know you need a solid VISUAL SCHEDULE? Then check out this one here on TpT.


I am not sure if all the suggestions your making will help me with my class- it is a odd shape and not a lot of things move around, but I like the ideas and will try them to see how they work.
Thanks for writing- it will be something I pin!
I was needing help with laying out my class so that it works better. What can I do when students run out of class? I feel like I’m always in front of the door so kids don’t get out. Help!
Comments are closed.