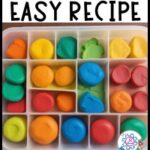
Sensory play is a great way for children of all abilities to learn and explore the world around them. It can help children develop their fine motor skills, sensory processing skills, and imagination. Playdough is a classic sensory play material that is easy to make at home. Here is an easy playdough recipe, including cook and no-cook options, that are classroom-ready and kid-approved!
Why Use Sensory Playdough?
Sensory play isn’t just about fun and games! It’s a helpful tool in your toolbelt, especially if you teach students with disabilities or complex access needs. Working with playdough can be pre-academic and target essential prerequisite skills. Squeezing, pouring, and shaping playdough can strengthen hand muscles, which helps with tasks like writing and buttoning coats.
Playing with playdough can also be a great outlet for energy. If you work with students who need fidgets or struggle with sustained attention, playdough can help. Using it allows students to focus and stay on track during class time.
Sometimes you need playdough for sensory needs. The textures, sounds, and smells of sensory play can also be calming or stimulating, depending on the student’s needs. It can appeal to the senses in a nonintrusive way that makes it great across all ages. Yes, you can even use this stuff in upper grades!
Easy Playdough Recipe (Cook Version)
This easy playdough recipe is simple to make at home, is soft, and lasts a long time. It uses common ingredients you may already have on hand in the pantry.
Ingredients:
- 1 cup flour
- 1/2 cup water
- 1/4 cup salt
- 2 tablespoons cream of tartar
- 1 tablespoon vegetable oil
- Food coloring (optional, but makes it more fun)
- Reusable plastic baggies or airtight containers
Instructions:
- In a large pot, whisk together the flour, salt, and cream of tartar.
- Add the water and vegetable oil to the pot and stir until a dough forms.
- If you are using food coloring, add a few drops to the dough and knead it in until the color is evenly distributed.
- Heat the pot over low heat, stirring constantly, until the dough becomes smooth and elastic.
- Remove the dough from the heat and let it cool.
- Store the playdough in a sealed Ziploc bag.
Extra Considerations for Playdough:
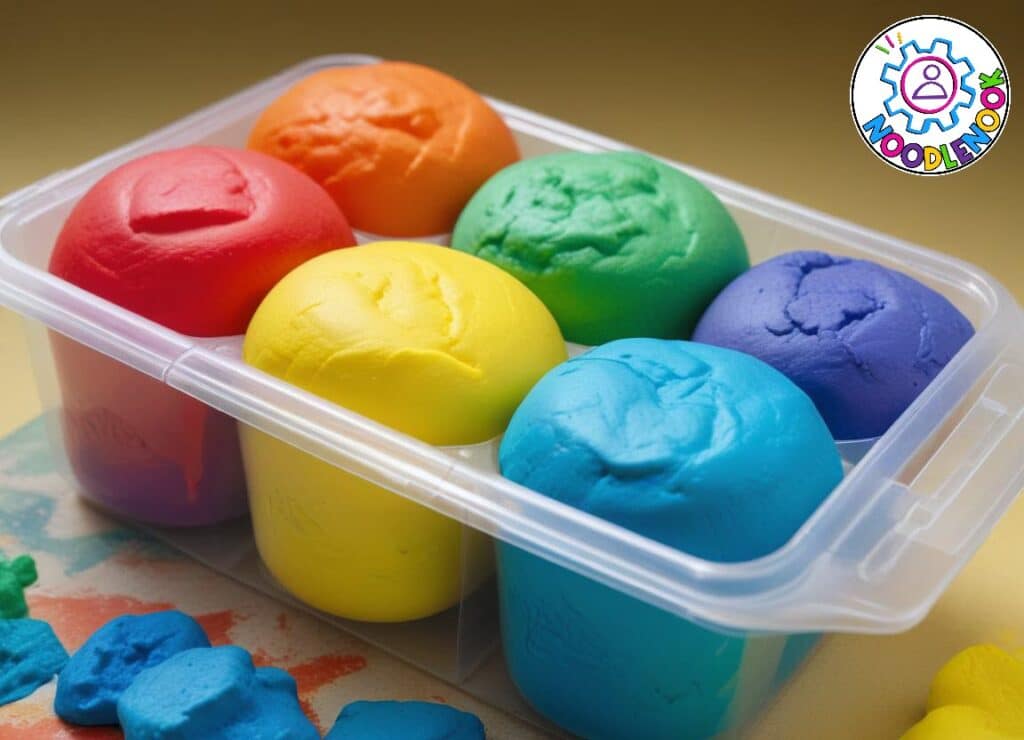
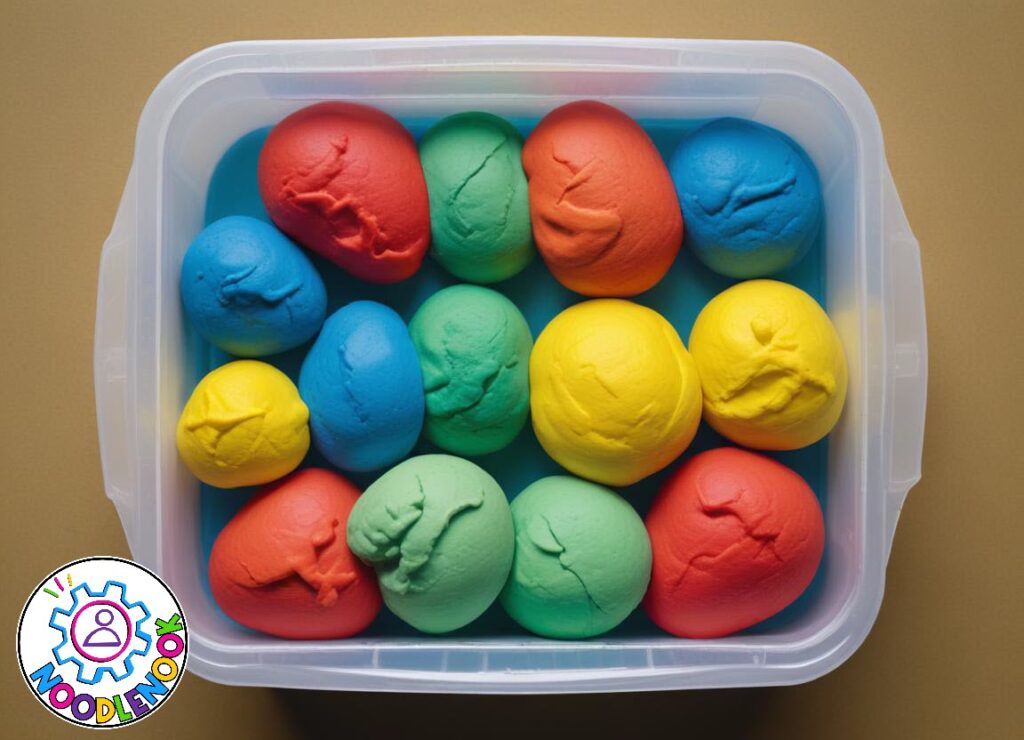
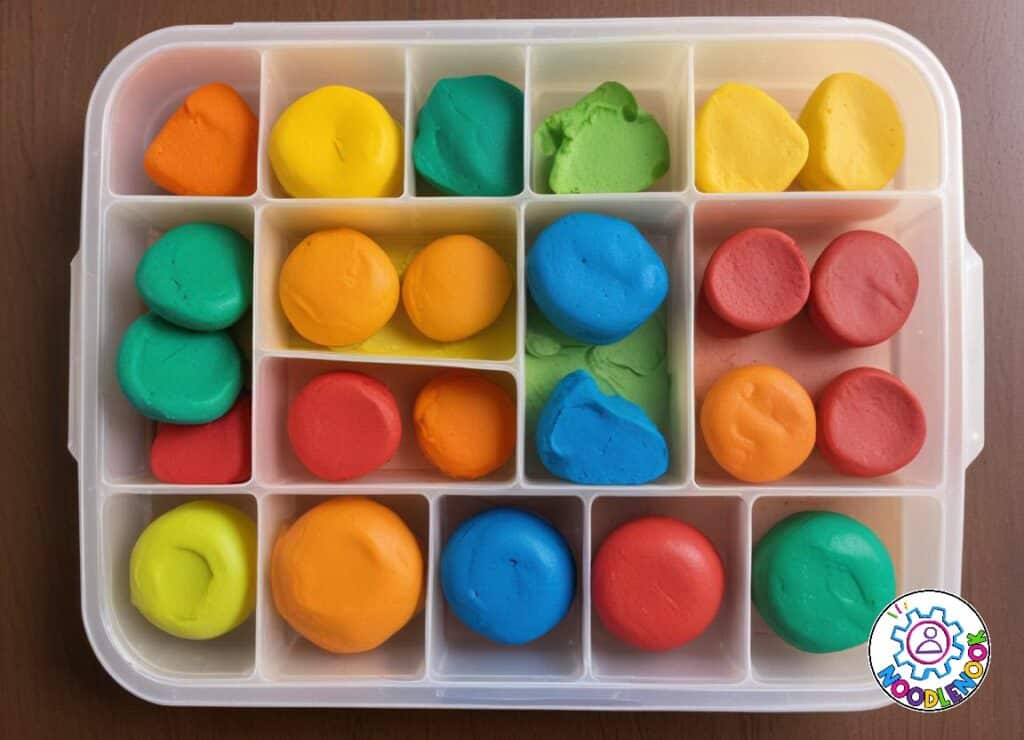
Start with pre-portions. If you are using this with students, then make it easier on yourself at home during prep by dividing the playdough into individual baggies or containers. This will minimize the hand contact versus a communal tub. If your students don’t care about all that, then it can all go in one larger container.
As you prep for classroom use, grab some plastic silverware from your local dollar store. Students can use this to cut, scoop, and texture their dough. This also targets some essential motor and functional skills too!
Finally, when you are prepping or using this in the classroom, it’s best to put down some butcher paper or wipeable plastic placemats first. This stuff picks up everything, so start with an easy-to-clean work surface.
Easy Playdough Recipe (No-Cook Version)
This recipe is a breeze to make and avoids using heat, making it perfect for classroom environments with little ones.
Ingredients:
- 2 cups all-purpose flour (plus extra for kneading)
- 1/2 cup salt
- 1 tablespoon cream of tartar
- 1 cup lukewarm water
- 1 tablespoon vegetable oil
- Food coloring (optional)
Instructions:
- In a large bowl, whisk together the flour, salt, and cream of tartar.
- Pour in the vegetable oil and water, then mix until a dough forms. You may need to add a bit more flour if the dough feels too sticky.
- If desired, knead in a few drops of food coloring until the color is evenly distributed throughout the dough.
- Knead the dough for several minutes until it becomes smooth and elastic.
- Store the playdough in airtight containers to keep it fresh.
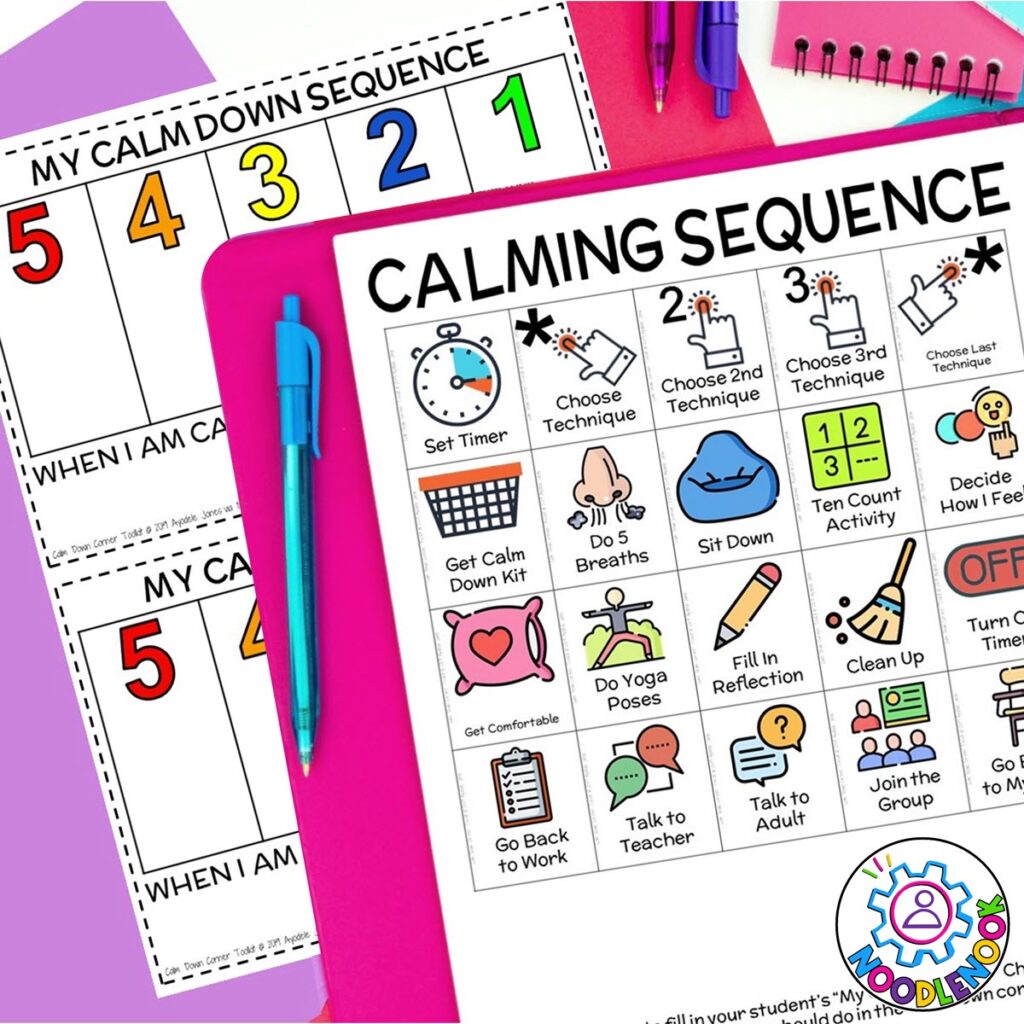
Once you are done making these sensory playdough kits, consider adding it to your Calm Down Corner! They make the perfect addition.
Make setting up your calming space easy with this printable kit.
Making it Sensory
Adding a sensory component to your classroom playdough will help students with special needs as they interact and play. Here are a few tips:
- Let children explore the playdough with their hands, feet, and other sensory tools.
- Add essential oils to the dough for a calming or stimulating scent. Try lavender for calming or citrus for stimulating. You’ll add it in at the same time as your food coloring. Just remember, a little goes a long way.
- Use glitter or confetti to add visual interest to the dough. You can also use small beads for students who like to pick and scratch. Just be careful with students who like to put things in their mouths.
- Use different combinations of scents, colors, and textures in the dough to create a variety of sensory experiences. Remember, different students will like different things, so choose wisely.
Easy Playdough Recipe (Sensory Edition)
Sensory play can be a wonderful experience for students with complex access needs or disabilities. Whipping up a batch using this easy playdough recipe can provide you with some versatile and engaging materials to use with students of all ages and abilities.
Whether you choose the cook or no cook recipe, these easy-to-follow instructions should have you creating classroom-ready playdough in no time.
And if you’re working with older students targeting pre-vocational skills, consider having your students make the no-cook version! This lets you target measurements, math, and reading comprehension all in one fun center or station. How great is that?
No matter how you use it, this easy playdough recipe is totally sped-ready!
Ready for More?
If you are working on meeting the sensory needs of your students, check out this post Best Stim Toys for Autism (Kids with Sensory Needs. You may also like Creating a Sensory-Inclusive Classroom for Autistic Students (Even on a Budget!)
If you are working with students on prevocational skills, then these posts will help! Check out Pre Vocational IEP Goals (Life Skills Goal Bank and Ideas), or this one: Task Box Ideas for Autism (Work Boxes in Special Education, and finally, this one: Vocational Training with Gift Cards

