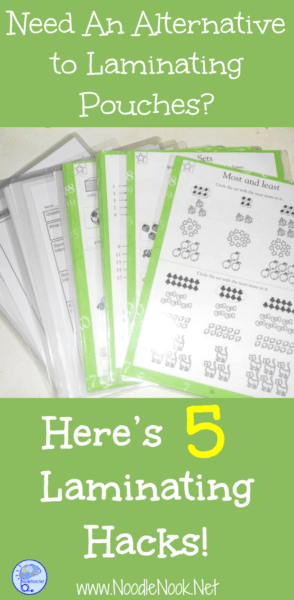
Are you looking for a cheap and easy alternative to laminating pouches? We’ve got 5 laminating hacks for teachers plus a bonus you can find in your kitchen!
Laminating Hacks for Teachers
It was horrifying. I looked everywhere. I looked in all my drawers, my supply closet, and my secret stash hiding spot- there were no laminating sheets anywhere. I’m a member of Amazon Prime, so I sat down to log on and order more. I figured I could wait the two days. But, man, it’s hard to be without.
I decided to brainstorm and try some standard laminator and laminating sheet alternatives and I must say, I liked a couple of these more than the old sheet way! Either way, I know you are a laminating-addict… we need to be with our students. Our materials are strategically modified and mean to be reusable, but are not always treated with the best of care (read: put in mouths, thrown, ripped, and more).
Try these alternatives and see what you think… I can tell you they really work!
Hack #1: Dry Erase Sleeves
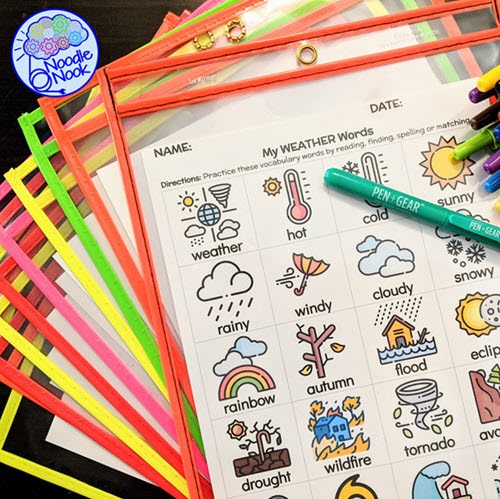
My number 1 alternative to laminating sheets are these dry erase sleeves. Several of my students work on the same activity several times a week, like writing their names or recalling their phone numbers… And at one point I was photocopying dozens of the same activity. Dozens.
Enter these things. They Changed. My. World!
Easily pop the printed activity into the sleeve, color coordinate for students on work systems or who need visual supports, and erase easily, like when a student makes a mistake or to reuse them another day!
Saved me REAMS of paper. Reams!
Hack #2: Plastic Sleeves
If the dry erase sleeves are not in your budget and you can’t get some parents to send them in with school supplies or as a classroom donation, then these are usually floating around campus somewhere.
These plastic sleeves do the same duty as the dry-erase sleeves, but don’t erase quite as easily unless you get the non-generic version. You need the ones that are smooth and not slightly bumpy. With the price on a box of 100, you can probably toss the sleeves when they get too yucky without any guilt.
The bonus with the sleeves is the fact that they’re already 3-hole punched and you can easily put them into a binder. This will make it a breeze to develop a work cycle for your kiddos.
Hack #3: Bookmark Sleeves
So, sometimes you don’t need to have a full page of magic… throughout the day I use icon-size visuals to label things, work on fringe and content vocabulary, as well as add to visual schedules. When that is the case, you can skip the big sleeves and use these smaller bookmark-sized sleeves! I love these!
As a bonus hack to using these, you can trim the bookmark to the 2×2 inch size and seal them with Washi Tape (insert mouth open here)! Cut the remaining sleeve into pieces and seal the open edges with tape too… clear if you prefer to skip the Washi.
If you need to access the images in the sleeves or change them often, which is a part of life if you are working with fringe and content vocabulary, then seal one edge and use just the smallest piece of Velcro inside the open edge to ‘close’ it off.
Best hack ever for icon-sized visuals!
Hack #4: Packing Tape
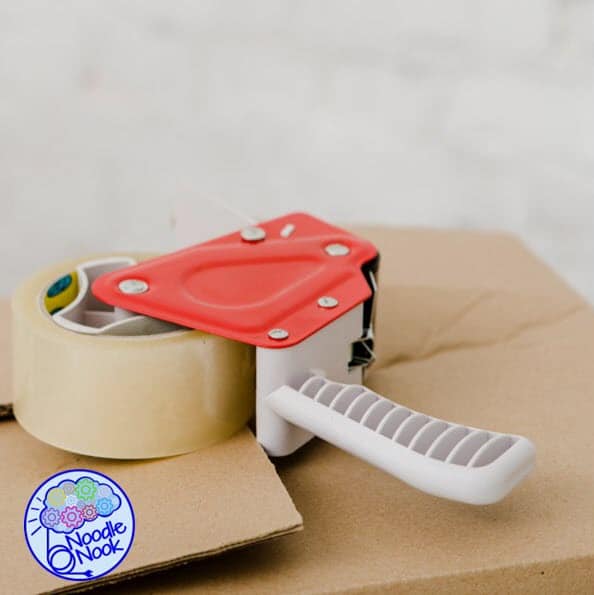
Speaking of tape, you will not believe the effectiveness of tape in place of laminating! You can tape the front and back if icon-sized visuals and, bam, they’re laminated! Plus, bonus, you can write on them with dry-erase markers and erase them easily.
The mega bonus of this method is packing tape is cheap and easy to find! Seriously… this is the bomb.
Hack #5: Clear Contact Paper Rolls
With the tape method in mind, I have used clear contact paper a million times to fortify my file folder activities. Lamination sheets are only good for paper sized sheets… but file folders are a totally different thing. Using clear contact paper rolls lets you make file folder activities durable without having a huge roll laminating machine.
If you have a destructive set of students you’re working with, you may want to add a decorative Washi tape or packing tape edging to keep the folder intact and help it to last longer.
5 Great Lamination Hacks for Teachers
You love your laminating sheets (as do I)… but you may want to try one of these alternatives. I personally have tried every one of these and had lots of success.
So you know I am a little out of my mind, and a little old, I also tried two-sided tape with old overhead projector sheets (remember those?)- Not as much love for that method because the corners of the sheets are kind of pointy and cleaning them is a challenge. That method didn’t make the list.
On more than one occasion, I have put visual icons or parts of communication boards into Ziploc bags to make a quickie laminated activity… that one actually works pretty well and the materials are easy to come by. Just one parting suggestion when the laminating pouches run out in your Autism classroom or self-contained unit.
What other ways have you tried to hack laminating pouches?


