Starting Centers in Autism Units
You have probably heard it over and over… you need to be using centers in your Autism Unit.
Sounds good.
But how do you get started? What are you supposed to do when all your students need lots of support and assistance to complete tasks? Here are some simple steps to get started using centers in Autism units.
1. Fix Your Layout
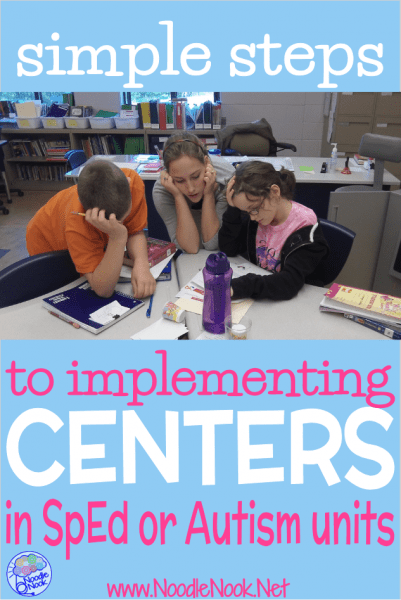
The first thing you will want to do to start your centers or stations in your Autism unit or self-contained sped classroom is to change the layout of your classroom. You’ll want to have small work stations throughout the room that is flexible. Depending on how many students you have in your room, you will want to have places where partners can meet and also where a teacher or aide can pull 3-6 students together to work in a smaller group. You will also want several places where students can work independently, but where you can still see them to monitory work.
So, if your classroom is still desks in rows, then to start using centers you will need to fix your layout.
2. Start With an Easy Center
You do not have to have all your centers master planned to get started… you just need one.
Phew. Stress level is returning to normal.
People often think they need tons of center activities all set and ready to roll, but the truth is there is so much other stuff our students need to learn to be successful procedurally that, especially in the beginning, they are learning how to do centers more than learning while in the centers. You are going to get stuck in the procedure process for awhile… so stress less about having a lot of different center activities and just start with one easy one.
3. Train Procedures… Over and Over
Your students are going to need to practice the center activity as well as the center process over and over again. That is a given. When you start your center approach, think about these things:
- How will you signal students to move to centers?
- Will you use a timer while in centers? (P.S. the answer is YES)
- How will you rotate centers? (move left, label by color, personal schedule)
- What visuals can you provide to help students with the center procedure?
- What will students do when they need help? (ask a friend, wait until timer?)
- What should students to if they finish the task at the center early? (filler activity, extension activity)
- What will happen if students don’t finish the center activity? (and how will you teach that it is okay not to finish?)
- How will you end center time?
When it comes to procedure, there is a lot to think about. Make sure you have a plan and then teach that procedure till it is routine. You can do that in mock centers where students practice getting in, rotating, and getting out of centers without necessarily completing any tasks at each center. You can do real centers and learn as you go, or you can do a whole group center where students all practice the activity and then get going with the center procedure.
4. Move to Center Status
Now that you have a center and have the procedures, you should be on your way. You will want to practice both in real time as you would want them to work in your real rotation. All students should be participating and, even though you will have one or two that are slower to catch on, most of your students should be able to work the center and rotate with some level of independence.
5. Rinse and Repeat
Now that you have one center down, repeat the process. Pick one or two new center activities to add to the mix. Then repeat the procedure training process and add it as a full center station.
Using Centers in Autism Units
Centers doesn’t have to be complicated nor does it mean to unveil 25 new centers at once. Remember the steps:
- Fix Your Layout
- Start with One Easy Center
- Train Procedures
- Move to Center Status
- Repeat Until Robust
Continue to repeat this process until you have a robust collection of center activities, work task systems, and time to sit down with small groups of students for some quality small group instruction.
Ready, Set, Go… Stay Strong and Teach On!


